Step-by-Step Guide to Making Makgeolli at Home
- TaeGye LEE
- Oct 4, 2025
- 3 min read
If you love trying out new beverages or want to explore the world of traditional Korean drinks, making Makgeolli at home is a fantastic project. Makgeolli is a slightly sweet, milky, and refreshing fermented rice wine with a rich history dating back centuries. This guide will take you through the step-by-step process of making your own Makgeolli, ensuring you have a delightful experience along the way.
Makgeolli Recipe
Before you dive into the fermentation journey, it's important to gather all the necessary ingredients and tools. The basic ingredients required for Makgeolli include:
Short-grain rice: 4 cups
Nonglutinous rice flour (also known as sweet rice flour): 1 cup
Water: 10 cups
Nuruk (Korean fermentation starter): 1 cup
Sugar: 1 cup (optional)
These ingredients are the backbone of your Makgeolli. The quality of rice, water, and nuruk will influence the final taste. Be sure to source good quality ingredients.
Preparing the Rice
To start your Makgeolli, you need to prepare the rice correctly. Follow these steps:
Rinse the Rice: Place the short-grain rice in a bowl and rinse it under cold water until the water runs clear. This process removes excess starch, helping to achieve a better texture in your final product.
Soak the Rice: After rinsing, soak the rice in clean water for about 8 hours or overnight. This soaking allows the rice to absorb moisture, making it easier to steam.
Steam the Rice: After soaking, drain the rice and place it in a steamer lined with cheesecloth or a clean kitchen towel. Steam the rice for about 30-40 minutes until it's fully cooked but still firm.

Mixing the Ingredients
Once your rice is prepared, it’s time to combine it with the other ingredients:
Cool the Rice: Allow the steamed rice to cool down until it becomes slightly warm to the touch. This is important because adding nuruk to hot rice can kill the beneficial microbes needed for fermentation.
Mixing: In a large mixing bowl, combine the cooled steamed rice and 1 cup of nonglutinous rice flour. Mix them thoroughly.
Prepare the Water: Boil 10 cups of water and let it cool to around 85°F (30°C). Gradually pour this water into your rice mixture while stirring to create a smooth, porridge-like consistency.
Add Nuruk: Finally, mix in the nuruk, ensuring it is evenly distributed throughout the rice mixture. If you're using sugar, add it now.

Fermentation Process
Now that you have your mix ready, it's time for the fermentation process. Here are the steps:
Transfer to a Fermentation Jar: Pour the mixture into a clean glass or ceramic fermentation jar. Leave some space at the top, as the mixture will expand during fermentation.
Cover: Cover the jar with a cloth or a loose lid to allow air to flow while preventing dust from entering.
Let it Ferment: Place the jar in a warm, dark location with a stable temperature of around 68°F to 75°F (20°C to 24°C). The fermentation process should take about 5 to 7 days.
Check Daily: Every day, use a clean spoon to stir the mixture gently to aerate it. You should notice bubbles forming after a couple of days, which is a good sign that fermentation is taking place.
Bottling and Enjoying Your Makgeolli
Once the fermentation period is complete, it's time to bottle and enjoy your homemade Makgeolli:
Strain the Mixture: After about a week, you’ll notice the mixture has thickened and bubbles have formed. Using a fine mesh strainer or cheesecloth, strain the liquid into clean bottles, discarding the solids. This liquid is your freshly made Makgeolli.
Bottle the Makgeolli: Pour the strained Makgeolli into clean glass bottles, leaving some space at the top. Seal them tightly.
Refrigerate: Place the bottles in the refrigerator. Cold temperatures will slow down further fermentation and improve the taste. Makgeolli is best enjoyed chilled.
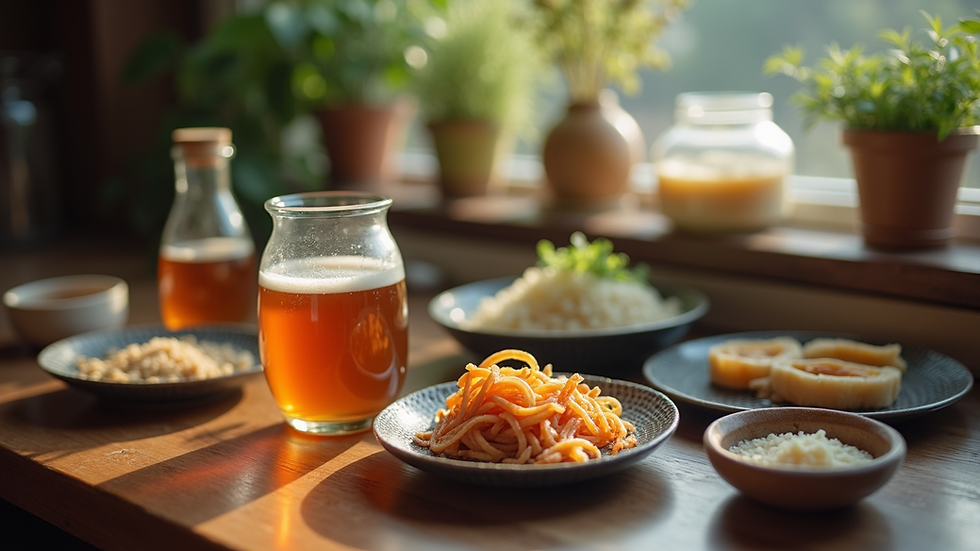
Serve: To serve, pour the chilled Makgeolli into traditional cups. It pairs wonderfully with various Korean dishes, and you can enjoy it straight or as part of a cocktail.
Final Thoughts on Home-Made Makgeolli
Making Makgeolli at home can be a rewarding and enjoyable experience. Don’t be discouraged if your first batch doesn’t turn out perfect - fermentation can be unpredictable! Keep refining your technique and experimenting with different ingredients or variations of the recipe.
If you want to explore more about this fermented rice wine recipe, check out the full guide here.
Your Next Brewing Adventure
Now that you have all the steps to create your own Makgeolli, it’s time to roll up your sleeves and get started. Whether you share it with friends or enjoy it solo, your homemade Makgeolli is sure to impress. Happy brewing!


Comments